Showing posts with label polymer clay. Show all posts

09 September 2015

Relax stones

Here's a fun little project to make something to keep on your desk, or anywhere else, reminding you to relax.
1. Mix polymer clay to make a pleasing stone colour. I used granite effect clay with some added grey clay.
2. Make the clay into balls. Flatten the balls into oval shapes.
3. Use alphabet stamps to add your message, then bake.

4. Using a very fine brush, paint some acrylic paint inside the letters. Wipe any excess paint off immediately.

5. Buff the surface to a sheen.

These are quite tactile, too, so if you are feeling stressed you can hold them and turn them over in your hands to distract you from what's on your mind.

29 July 2015

The Clangers in Clay: Froglet

As the end of the month nears, finally we've come to the last post in my series of Clangers craft tutorials - I hope you've enjoyed them. I've left one of the best for last, as I've always found the Froglets really cute!

Over the course of July I've been showing you all the techniques I used to make my Clangers scene. Please remember that this is an ornament for nostalgic adults or older children - it's not a toy as it has many small and breakable parts. If you did want to make it for a young child's room, I'd recommend gluing the pieces together and mounting the scene in a box frame which could hang on the wall.
Here's what you need to make a Froglet (or why not make three!)
  • Black and orange clay (e.g. Fimo or Sculpey)
  • Cocktail sticks
  • Black paint

1. Make a piece of orange clay into a flattened egg shape.
2. Use a pen lid to make a semicircular marking as a smile.
3. Make two holes in the bottom using a cocktail stick.
4. Make two small balls of black clay, and flatten them. Make them slightly narrower at one side, and make an indentation with a cocktail stick at this side.

5. Make two small balls of orange clay.
6. Flatten two tiny pieces of black clay, and use a craft knife to cut slits into one side.
7. Place the black eyelash pieces on top of the froglet's head, and add the orange balls on top.

8. Bake!
9. Cut two lengths of cocktail stick and paint them black.
10. Glue the black foot pieces to the cocktails sticks, then glue them into the holes at the bottom of the froglet's body.

11. If you like, varnish the froglet for a glossy look.

 
And here's a roundup of all the other projects in the series! I've really had fun with this, thinking of which items I wanted to make, and working out how I could make them. I have to admit that the scale is a bit off on some of them, with the container of blue string pudding, for example, being far too large to fit down the craters, but I hope that adds to the charm of it!

1. Clangers' planet

27 July 2015

Elasticated bracelet


I'm loving peach and rose-gold this summer, so I made this bracelet in those colours.

1. Form a bead shape from peach polymer clay, and use a sharp knife to cut facets.

2. Bake.

3. Cover part of each bead with masking tape and spray paint with gold paint.


4. Thread the beads on elastic, tying knots in between. If you like, hide the knotted ends of the elastic inside one of the beads.


25 July 2015

The Clangers in Clay: Blue string pudding

I showed you how to make a tankard of soup for the Clangers earlier this week, and now it's time for the other part of the staple diet of the Clangers - blue string pudding!

Over the course of July I'm showing you all the techniques I used to make my Clangers scene. Please remember that this is an ornament for nostalgic adults or older children - it's not a toy as it has many small and breakable parts. If you did want to make it for a young child's room, I'd recommend gluing the pieces together and mounting the scene in a box frame which could hang on the wall.

You'll need polymer clay (e.g Fimo or Sculpey) in:
  • Silver
  • White
  • Blue
  • Gold or copper


1. Roll out a long piece of silver clay and a also a disc shape.

2. Use a lid to cut a neater circle from the disc, and use a craft knife to neaten up the edges of the strip of clay.

3. Cover the lid with a strip of paper.

4. Place the strip of clay around the paper, and trim the ends.

5. Place some small balls of gold clay at the join, and press them down with a ball tool.

6. Remove the lid from the middle, and bake.

7. Place a thin snake of clay around the join between the base and sides, and smooth it out.

8. Mix together white and blue clays, but don't mix them completely. 

9. Roll out long thin snakes of the blue and white mix, and place these in the silver pot.

10. Make two thin snakes of silver clay, and attach these as handles. Add dots of gold clay where they join the pot.

11. Add a length of cocktail stick as a wooden spoon.


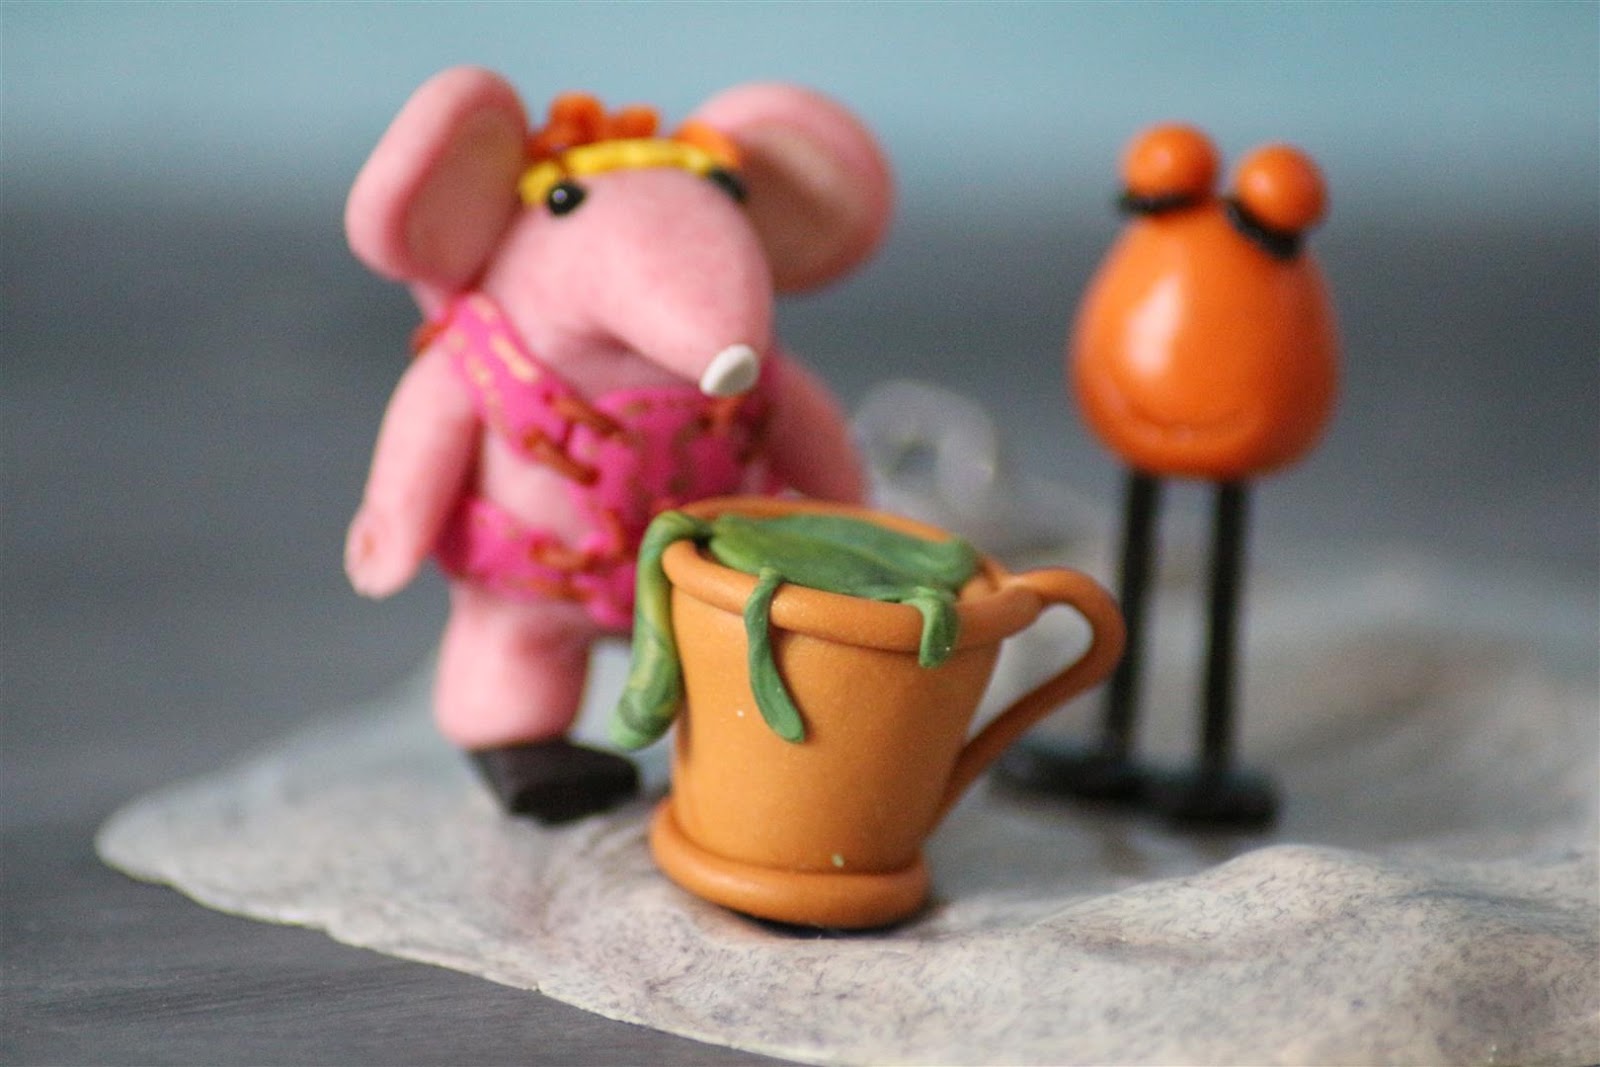
I think I made rather too big a pot of blue string pudding! Tiny Clanger looks rather daunted by it, and the Soup Dragon is eyeing it up!


22 July 2015

The Clangers in Clay: Soup tankard


Welcome to the latest part of my series on how to make the Clangers and friends! Today I'm providing them with some sustenance in the form of soup, which, as you should know, is one of the main things eaten by the Clangers!

Over the course of July I'm showing you all the techniques I used to make my Clangers scene. Please remember that this is an ornament for nostalgic adults or older children - it's not a toy as it has many small and breakable parts. If you did want to make it for a young child's room, I'd recommend gluing the pieces together and mounting the scene in a box frame which could hang on the wall.

You'll need polymer clay (e.g. Fimo or Sculpey) in:
  • Gold
  • Green
1. Make a rough shape from gold clay.

2. Use a brush handle or pen lid to make a circular indentation.

3. Make thin snakes of gold clay, and place around the top and bottom, and at the side as a handle.

4. Mix a few colours of green clay, and place this in the top. Add some drips of clay at the edges.

5. Bake.


Related Posts Plugin for WordPress, Blogger...