

This month the school where I work had its 50th anniversary, and I somehow ended up being the person who organised all the displays of old photos etc! I couldn't find much information online about how to do this, so here are some ideas if you ever find yourself in the same situation! I would recommend that you start at least 3 months in advance of the event.
1. Gather everything you have
If your school has an archive, that’s great! But otherwise you will need to ask all the staff to have a look in their cupboards and on their hard drives for anything that you can use. This could be photos, slides, folders of old information, school ties, newspaper clippings, programmes for plays, or old artefacts (we found an old school belt!). I also have my own archive of local history materials at home, and photos I’ve taken at work over the years, and some of that came in handy.

2. Look online
Try looking online for more photos. Google images is a good place to start, but you could also try searching Facebook or Flickr for any mentions of the school name, and online archives such as SCRAN. Think about setting up a Facebook group for former pupils and staff, where they can upload photos.
3. Look in libraries and archives
Visit local or national libraries and archives and look at any books, newspapers, magazines or photos they have that may be useful. Because I’d spent so long looking at the photos we already had (and had set them as a slideshow on my computer desktop!), I was immediately able to tell which photos we didn’t already have.

I also found some interesting things like adverts for local shops selling school uniforms in the year that the school opened!
4. Take photos
Go round the school and take photos of anything you think people would be interested in seeing. Even if there will be tours of the school organised on the day, people won’t always pick up on the small details, like the original telephone that I found in the corner of one room. I also went round and took photos from the same angles as those that were taken when the school opened, for a “then and now” display.

5. Collate everything
You may not wish to put original photos on display, so scan these in. It also means you can print the photos out at a larger size. Organise your scans into folders on your computer (I arranged them by what size I would print them, and whether they would be in black and white or colour).
6. Create collages
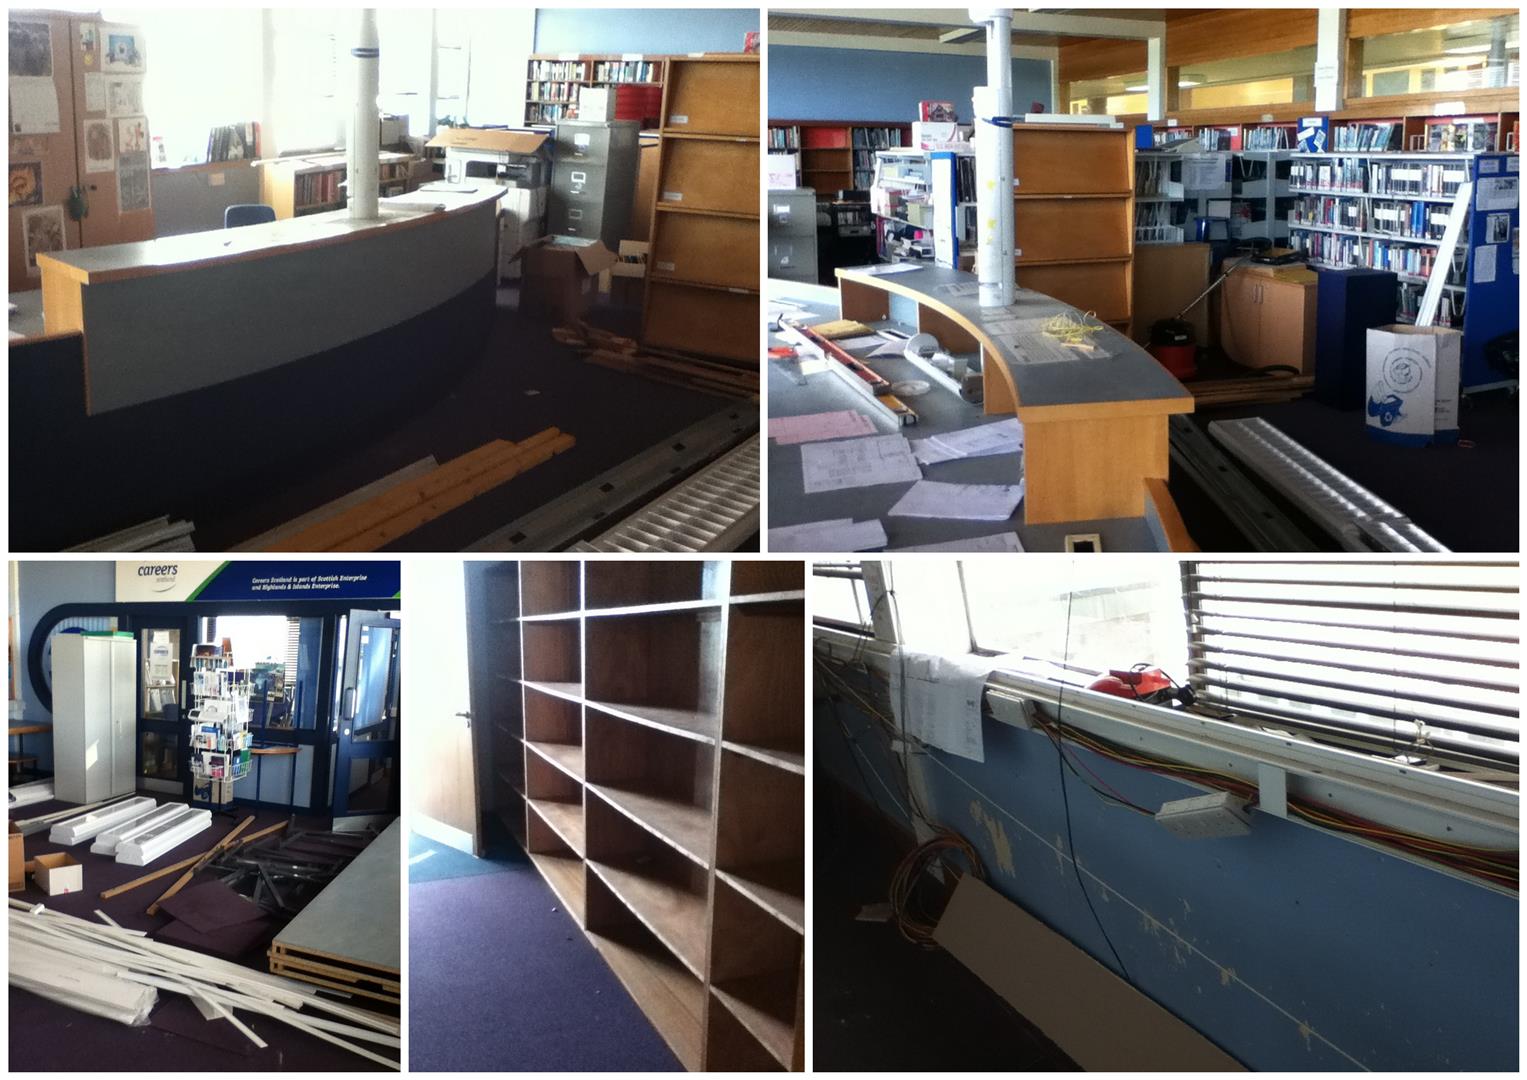
Creating collages (using Picasa or other software) is a great way of bringing together a number of photos showing different aspects of the same subject. For example, I did a few of some building work that had been done in the school – the photos were not in themselves very interesting, but bringing them together showed the progress of the work.
7. Print your photos
Make sure you leave enough time to print what you need. You may wish to print the photos in batches, like I did, rather than leaving them all to the last minute. Try to find out as much as you can about the photos, a rough date at the very least, and write or print it beside each photo - try to write this far enough from the corners so it won't be covered by the drawing pins!
8. Plan your displays
Look at how many photos you have, and decide how they will be arranged – will you do it by decade, or by subject? Divide the photos into wallets labelled with each of these sections. If you want to have labels at the top of the pinboards, print these too. Think how many photos will fit on a pinboard, and decide how many pinboards you will need. Lay out folders and other items on tables, and measure how much space they will take up. Also, work out how many drawing pins you will need – I printed about 250 photos so I needed 1000 drawing pins, and the school didn’t have that many in stock so they needed to be ordered specially!

If you have items in folders, try to get a batch of matching ring binders and add matching labels to the front of them. I used red folders and used a piece of art on the front that I’d created to celebrate the anniversary.


If you have precious items, these may have to be displayed in a glass cabinet to prevent them being touched. It’s a good idea if this is a lockable cabinet so items don’t go missing.

Keep all your items together ready to create the displays. If there is a room or cupboard where you can keep them, use it, or keep everything together on a trolley that can be moved about.
9. Think of decorative items
You can decorate in all sorts of ways – tablecloths and balloons in the school colours, for example. We’d just got some banners made for the school hall, so it was looking pretty good anyway.

(I didn't do this display, but it's just to show how you can use tablecloths etc.)
One of the decorative things I did was to use Picasa to create a collage in the shape of the number 50, using a lot of the photos I’d found.

10. Use technology
If you have a large screen in the hall, you can have a slideshow of old photos constantly running. You could also set up some laptops as I did, so that people can go through photos and videos at their own pace.
11. Arrange pinboards and tables
If you need to ask someone for pinboards and tables, do this well in advance, otherwise get hold of them yourself and put them in position. Make sure to tell everyone that you will be needing these, so that someone else doesn’t pin things on your boards, and ask people to be careful around them so the photos don't get damaged (we had an event where pupils were leaving their coats and bags around the pinboards, so I had to put chairs around them to protect them).
12. Create your displays
Decide when the best time is to create your displays. You may not be able to leave them out, if the venue is being used for other things, so get some help from other people to help to arrange them and clear them away afterwards.
Pinning the items up can be quite time-consuming, so make sure to start a week or two in advance. Staples are a quick way of attaching items, but drawing pins mean you can move them about. Start by planning where to put the largest photos, then fit the smaller ones in around them. If you're using drawing pins, just pin the top corners of the photos until you are happy with the layout, then add pins at the bottom corners. For A3 pictures, add pins halfway along the long sides as well as at the corners.

There’s a lot more to organising a school anniversary (publicity, food, photo booth etc), but I hope this has given you some ideas for the display side of things. And a lot of these ideas would apply to other events too. There’s a huge amount of work involved, so you’d really be mad to volunteer, but it can also be really rewarding seeing people enjoying the displays. It gave me a deeper appreciation of the place I work and the people I’ve worked with over the years (which kind of ties in with this post I wrote earlier this year about appreciating your town).


No comments:
Post a Comment