

Making candles is one of those crafts I've always meant to try, but never quite got round to until now. I'd actually picked up this candle making kit a couple of years ago in a charity shop, but hadn't got round to using it. Now, seeing as I'm going through a bit of a Hygge phase, and using loads of candles, I decided it was the perfect time!

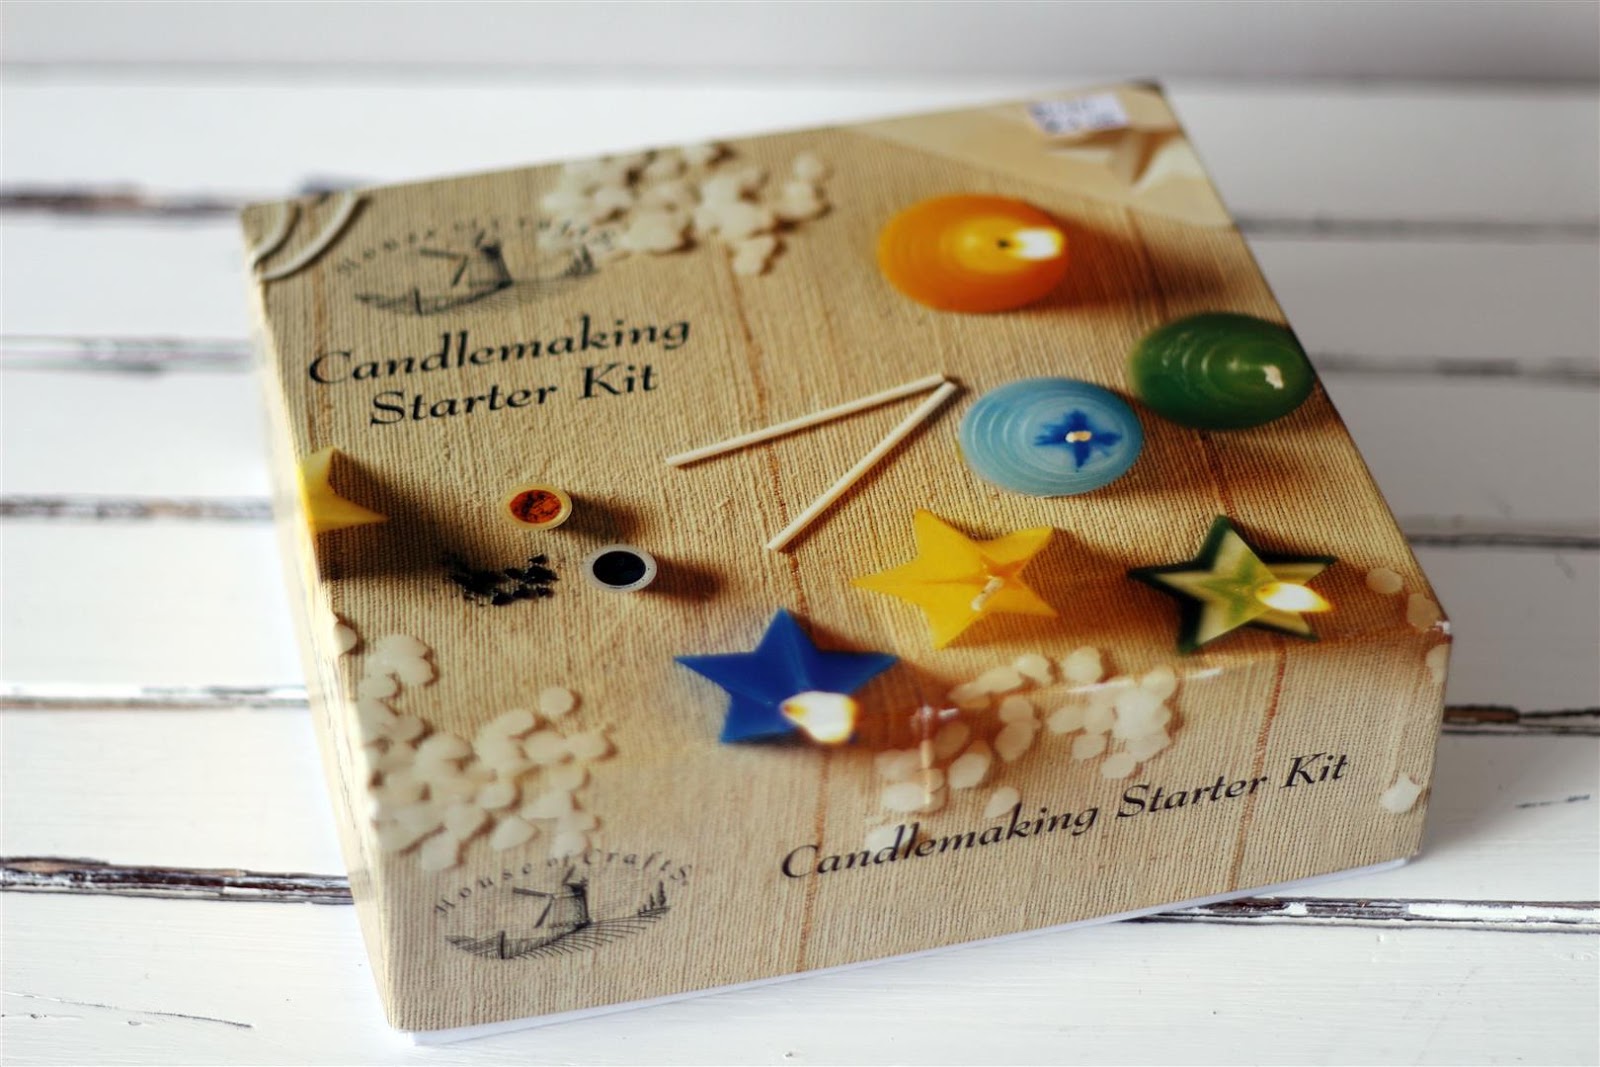
The kit came with wax, two moulds, a length of wick, coloured chips to colour the wax, and blu-tak to seal the holes where the wick goes through the mould. The kit only cost me £2, which is a great price for trying out something you're not sure whether you want to invest a lot of money in. But I saw the kit being sold new in a local craft shop and it was actually over ten times that price!

First you have to pierce holes in the bottoms of the moulds with a skewer, then thread the wick through (that was the really fiddly bit!). Then, after sealing the holes with blu-tak, you can melt the wax and pour it in (the wick is supported by being tied around a little stick). The box was designed to hold the moulds upright.

Because there were blue and yellow coloured chips, I was able to make blue, yellow and green candles.

I decided to make scented candles, so I added essential oils to each batch and coloured them appropriately - yellow for neroli and ylang ylang, blue for lavender, and green for rosemary. Because there were only two moulds, I had to wait some hours between making the batches of candles. If there was a little wax left at the end of pouring into the moulds, I used this to top up one of my other candles.

I n total I was able to make 6 candles out of the kit, and now I know what I'm doing I can get some wick and melt down the leftovers of some other candles! I'm also going to try using different containers as moulds - I'm saving some yoghurt pots and the containers from mini Christmas puds!


No comments:
Post a Comment